Words are missing from sentences
The level may be too low, so quiet words are lost, or the speaker is too far from the microphone. Move the microphone closer before raising the level.
Setup guide
A clear speech feed gives live translation a better starting point. This guide shows where to adjust the level, how to check loud and quiet speakers, and how to test the recognised words before the event.
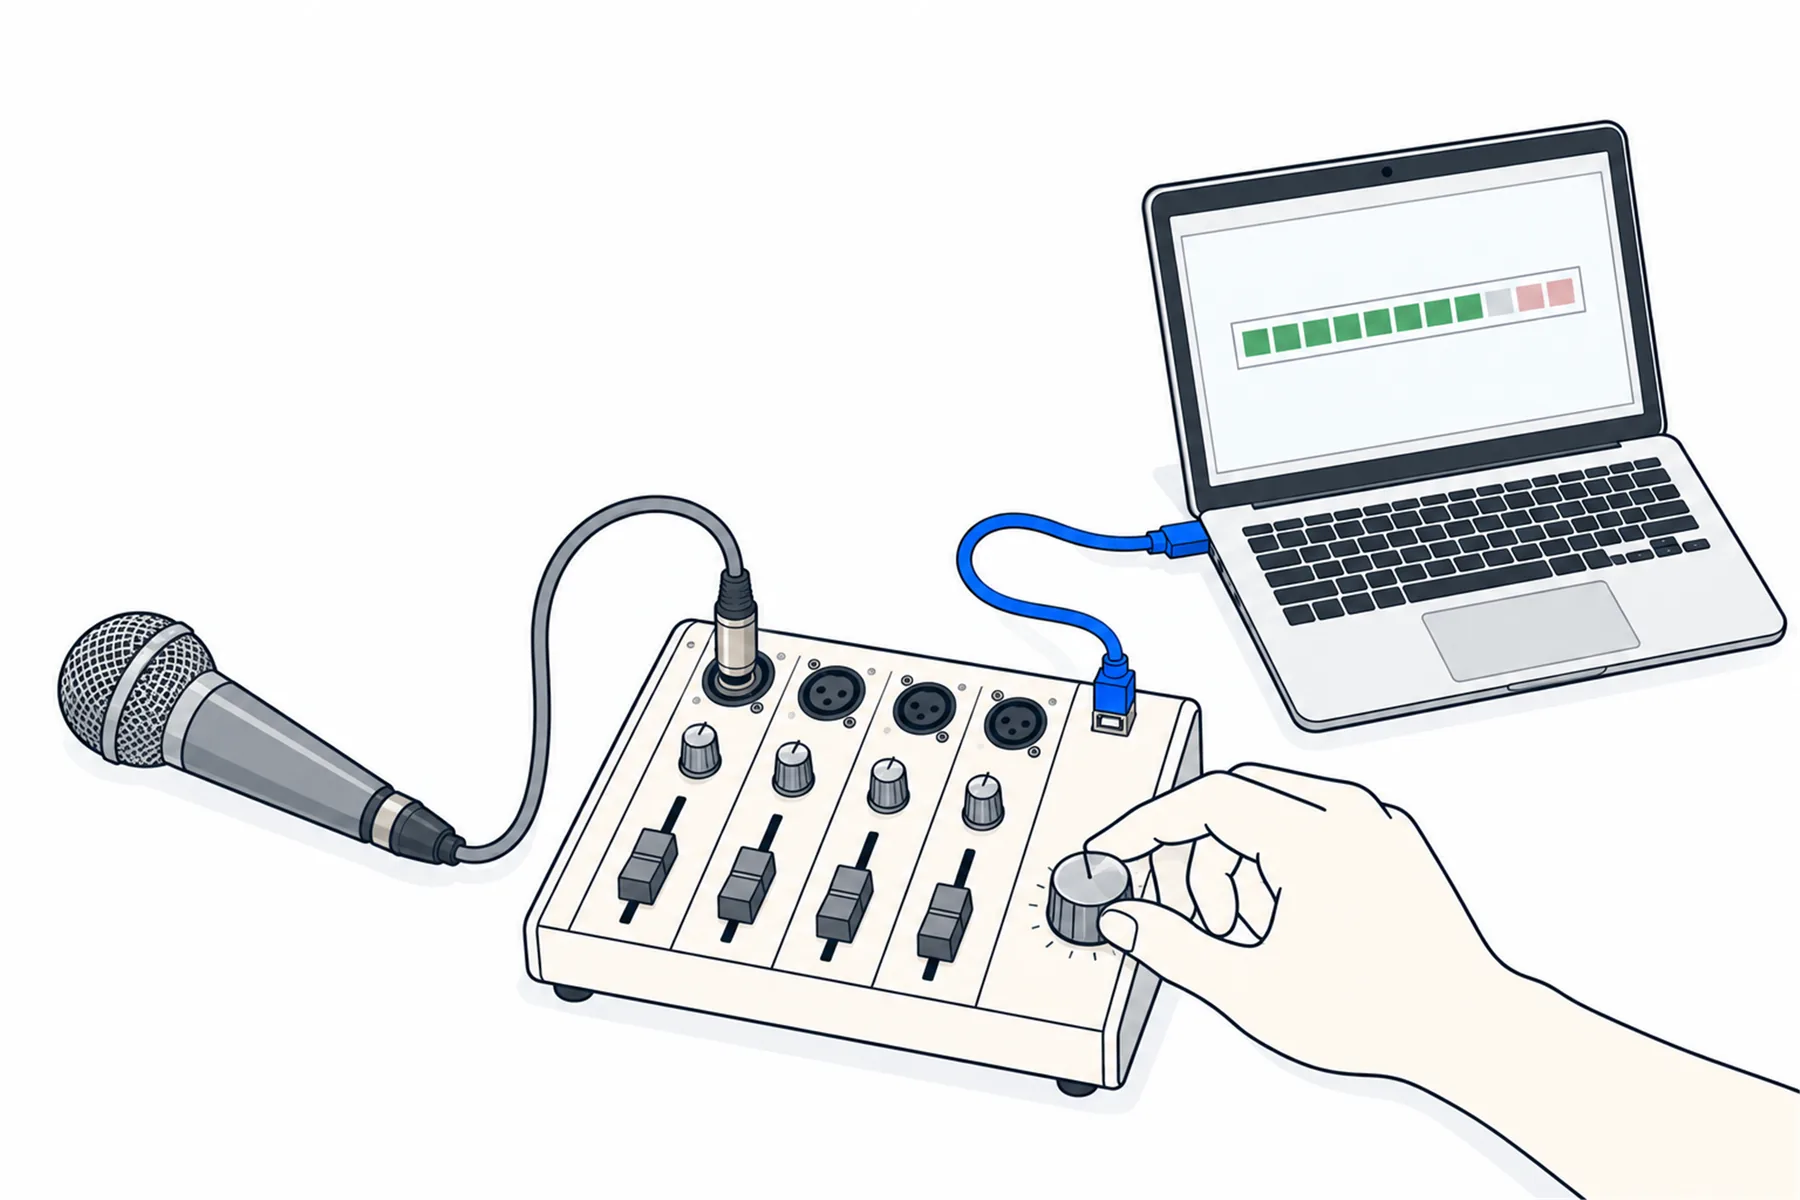
The level is set before the sound reaches SpanVoice, and the meter in the desk app shows the result. Set it with the loudest speaker, correct any clipping at or before the stage where it happens, then check that the feed is quiet when nobody is speaking.
Do it once with the room empty, then confirm with a real sentence.
The desk app has no level control of its own. It shows you what Windows gives it, so the level is changed upstream, at the stage that needs it:
If something clips, correct the level at or before the stage where it clips. Turning a distorted signal down further along does not repair it: lowering a send does not help if the microphone preamp is already clipping, and lowering the interface gain is the right fix if that is where it clips. A mixer’s USB feed may be taken before its output control, so check its manual before relying on that knob to change the USB level.
Open the desk app and choose the input. The meter runs as soon as a device is chosen, before you start streaming, so nothing is sent while you do this. Have the person who will speak loudest stand where they will actually speak, with the microphone they will actually use, and talk the way they will on the day.
Adjust until the meter moves clearly into the green on every sentence and the two red segments at the top stay dark, with room to spare for a louder moment. That room is headroom: the space between normal speech peaks and the level where the signal overloads. It does not need to be loud; steady and clean matters more than high.
The meter shows the average level of the sound arriving from the input, measured in short slices, on a scale from about -60 dB at the bottom to 0 dB, the loudest the input can carry, at the top. Each segment is roughly 4 dB. The two red segments light only when that average is within about 6 dB of the top, which for speech usually means its loudest moments have already hit the ceiling. Treat red as a sign to check for clipping. Check the desk and the interface for clipping as well: a healthy-looking meter in the app does not prove the signal was clean earlier in the chain.
A quiet speaker who arrives later will sit lower, and that is fine. A loud one who pushes the meter into the red is the one you are guarding against.
Ask them to stop. The meter should fall almost to nothing. If it keeps moving or sits part way up, something other than the speaker is in the feed. Work out what by taking things away one at a time:
Mute the translation send for a moment. If that mute controls the output SpanVoice is taking, a drop in the meter helps locate the noise upstream, in the mix; if it does not drop, check the interface and the Windows input.
The loudest speaker sets the ceiling. Then check the rest, because one setting has to work for all of them:
Where one microphone is much louder or quieter than the rest, balance it on the desk rather than changing the whole feed.
A good meter is necessary, not proof. Press Start streaming, say a sentence with a name and a number in it, and read the words on your own phone from the audience link. In the desk app, open Transcript: the Heard in the room column shows what is being recognised. If words are missing or garbled while the meter looks right, check the speaker’s position and the microphone, and check the desk and interface for clipping, before changing the level again.
With nobody to speak, switch the Input panel to Test file and play a recording. That checks the app and the streaming path, not the desk, so it tells you nothing about the level on the day; do the live check as well.
If the speech is clear but a name is repeatedly recognised incorrectly, check the spoken-language setting and add the name to the Glossary, then test again.
Once it is right, leave it and save the working setup as your starting point, including the desk scene with the translation send in it. A recalled scene or a new microphone is the usual reason it changes. Before each event, check the actual microphones and speakers, and confirm that the feed remains clean.
During the event, glance at the meter now and then. The meter keeps running when you press Pause audio, so it still shows what is arriving. If someone is speaking and the meter stays still, check the selected input and the audio path. If it has climbed into the red since you set it, someone may have raised a level upstream. Look before you change anything in the app.
Read it with someone talking, then with nobody talking.
| What you see | What it usually means | What to do |
|---|---|---|
| Nothing lit, reading shows a dash | If someone is speaking, the sound may not be reaching the computer. | Check the selected input and the audio path: cable, send and chosen device. The help centre page Nothing is being heard goes through it in order. |
| A segment or two flickering while someone talks | Sound is arriving at a low level. | Check in the transcript whether the words are understood before adding gain, and move the microphone closer. |
| Clearly in the green on every sentence, falling back between words | Usually right, if the red stays dark and there is room to spare. | Check the words in the transcript, then leave it. |
| Reaching the red | The signal needs checking: the loudest moments are probably at the ceiling. | Lower the level at or before the stage that clips, and check the desk and interface for clipping. |
| Part way up with nobody talking | The feed is carrying something other than speech, or noise. | Take away open microphones, music and effects, and check for room noise and hum. |
Match the symptom to the likely cause, then change one thing and listen again.
The level may be too low, so quiet words are lost, or the speaker is too far from the microphone. Move the microphone closer before raising the level.
Check first for red on the meter and for clipping on the desk and the interface. Lower the level at or before the stage that clips, not afterwards.
The feed carries room noise, music or an open microphone. Take them out of the send, mute microphones nobody is using, and use Pause audio during music.
Balance that microphone on the desk, or ask the speaker to come closer. Raising the whole feed for one voice risks the next loud one.
A scene was recalled without the send in it, a microphone was added or a level was moved. Save the scene with the send in it and check the meter before people arrive.
If the speech is clear but a name is repeatedly recognised incorrectly, check the spoken-language setting and add the name to the Glossary, then test again.
Still unsure
Describe what the meter does and we will tell you where to look.
Talk to usThe free credit lets you test the setup at your own desk. No credit card needed.
A$10 of free credit when you sign up, no credit card needed. Credit never expires — use it this week or next year.